Step to create an open loop chain system
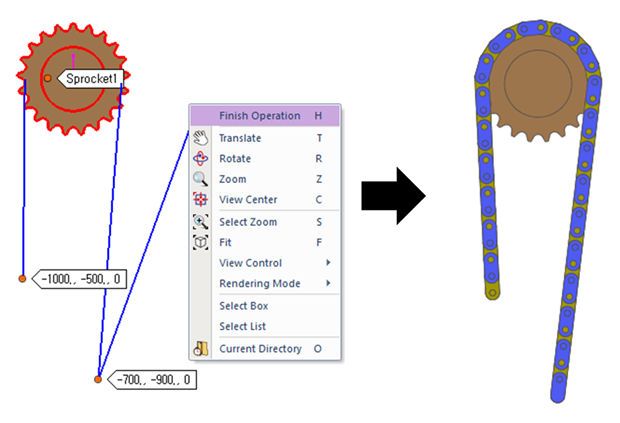
1. Set up working plane to assembled plane to prevent assembly line from go through working plane. Click Assembly icon of the Assembly group in the Chain tab and select a point or a set of bodies with which the chain makes contacts.
2. Click the points from A to C to assemble the chain system and then click right button to choose Finish Operation on right-click menu. (Whenever a user moves the mouse, the underling body will be highlighted, and users see the solid line connecting the previously selected body and the highlighted body. After making an open loop chain system, click the right button of mouse and choose Finish Operation on right-click menu. Then, the following dialog box for the chain links pops up.)
Figure 1 Chain assembly
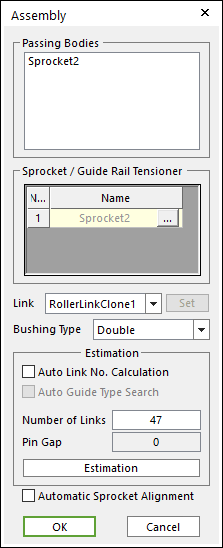
Figure 2 Assembly dialog box
3. Enter the number of links and click Estimation. A user can compute approximately pre-tension between chain links from an estimated pin gap.
4. Click OK, then the Chain assembly is completed.
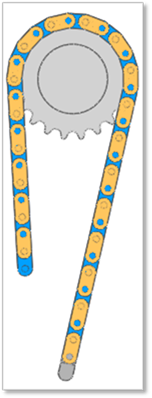
Figure 3 Chain Assembly complete
Step to create a closed loop chain system
1. Click Assembly icon of the Assembly group in the Chain tab and select a set of bodies with which the chain makes contacts.
2. Click the points from A to D to assemble the chain system. (Whenever a user moves the mouse, the underling body will be highlighted and a user sees the solid line connecting the previously selected body and the highlighted body. After making a closed chain, the following dialog box for chain links pops up. )
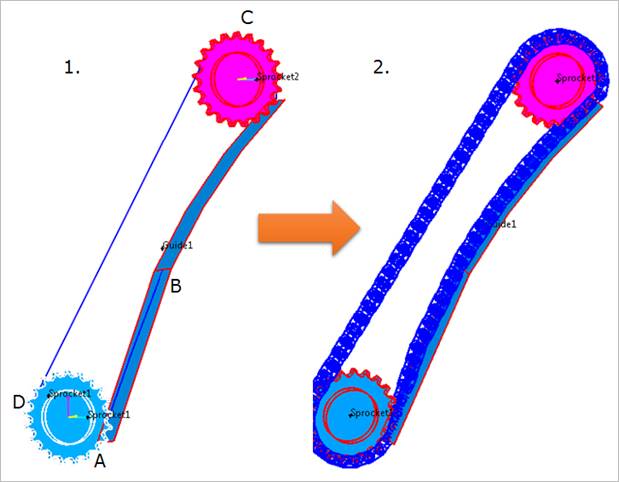
Figure 4 Chain assembly
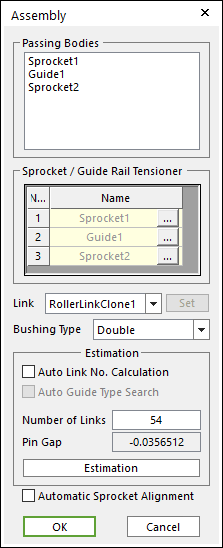
Figure 5 Assembly dialog box
3. Enter the number of links and click Estimation. A user can compute approximately pre-tension between chain links from an estimated pin gap.
4. Click OK, then the Chain assembly is completed.
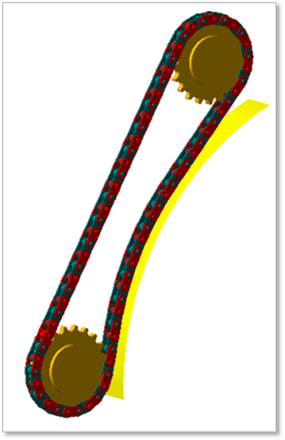
Figure 6 Chain Assembly complete