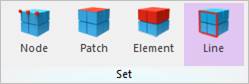
Figure 1 Line icon of the Set group in the FFlex Edit tab
Step to create a line set
1. Click the Line icon of the Set group in the FFlex Edit tab.
2. The Line Set dialog box will appear.
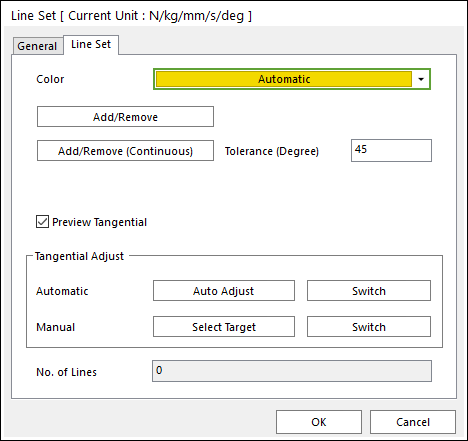
Figure 2 Line Set dialog box
3. Click the desired button among the Add/Remove type.
4. Select the lines which will be included in the line set. You can use the Ctrl key to easily select additional lines.
•In case of the continuous line, select just one seed line then RecurDyn automatically select line with the tolerance angle (The unit is degree).
5. Click Finish Operation on right-click menu or input the “done” in the Command Window.
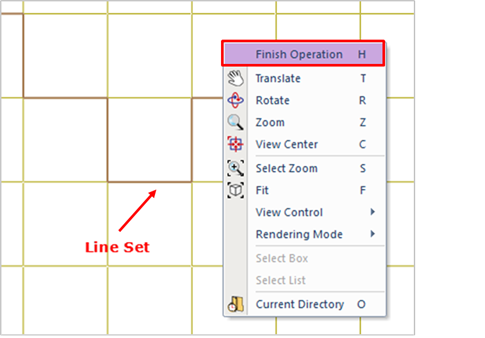
Figure 3 Creation of a Line Set with Finish Operation

Figure 4 Creation of a Line Set with command
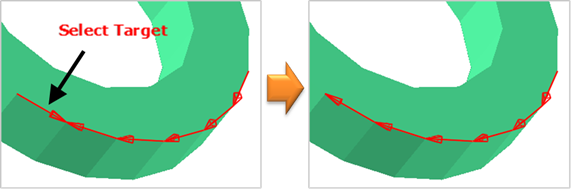
6. Adjust the tangential directions.
① To adjust automatically, click Auto Adjust.
② To switch all lines to the opposite direction, click Switch on the right side of Auto Adjust.
③ If some lines have the opposite direction, click Select Target to select the targeted lines manually and click Switch.
7. Click OK to confirm the creation of the new line set.