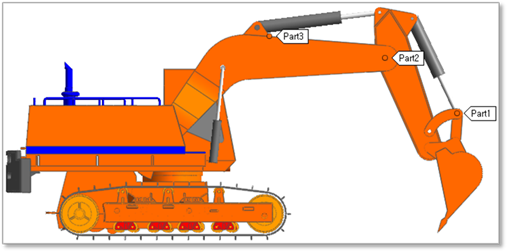
The user frequently will modify some parts of a model. In this case, the user always performed the Rotate function and the Translate function to see the desired part with inconvenience. But the View Preset function reduces the inconvenience by saving the view status to frequently modified parts in advance. The below example model of Figure 1 assumes that Part1, Part2, and Part3 are frequently will be modified and shows the method to use the View Preset function.
Figure 1 View Preset example model
1. Zoom in the surroundings of Part1 and then, perform the View Center function for setting Part1 to ViewPreset. The user can perform the View Center function by the C Key. (The user does not need to define View Center. But, if the user wants to correctly rotate Part 1, defining View Center is recommended.)
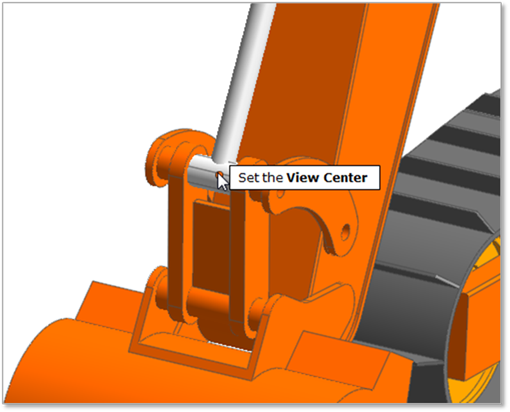
Figure 2 Set the view center of Part1
2. Set the desired view status by the Rotate function and the Zoom function. (The user notes to move the defined center of view if the Translate function is used.)
3. Open the View Preset dialog box. Shortcut is the Ctrl + Shift + G keys.
4. Click Add to save the view status of the Working Window. Change the name of saved ViewPreset1 to Part1.
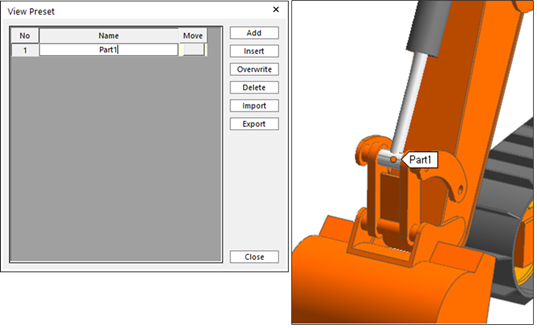
Figure 3 View Preset dialog box [Add and change the name]
5. Define ViewPrest of Part2 and ViewPrest of Part3 as shown in Figure 4.
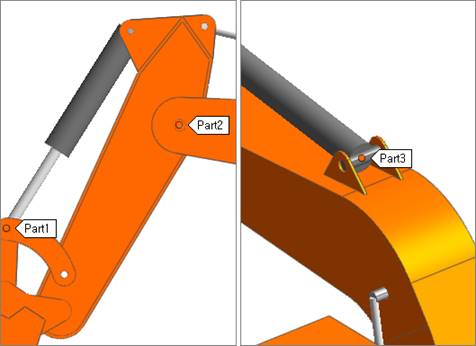
Figure 4 Set the View Preset of Part2 and Part3
6. Check whether to correctly save the VewPresets by clicking the Move buttons of each column in the View Preset dialog box.
7. Close the View Preset dialog box and then, use ViewPresets by pressing Shift+1, Shift+2, and Shift+3 when performing the modeling.