1. Click the Marker Trace icon of the Post Tool group in the Analysis tab.
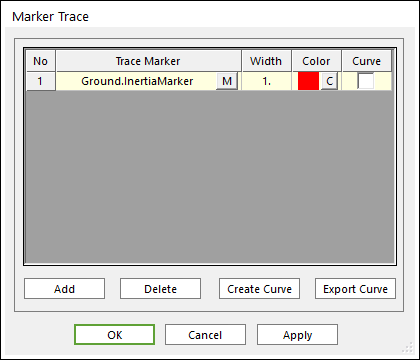
2. Select the desired marker by clicking M.

Figure 1 Marker Trace dialog box
•Trace Marker: Choose a desired marker.
•Width: Defines the width of showed curve.
•Color: Choose the color of showed curve.
3. Click OK.
The user can define this information on the Properties of Marker dialog box. For more information, refer to Marker page.
Step to Create Curve for Trace
1. Click the Marker Trace icon of the Post Tool group in the Analysis tab.
2. Select Trace Marker from the list.

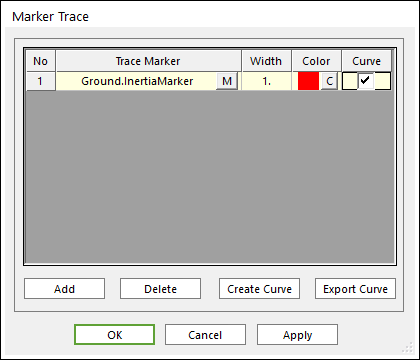
Figure 1 Marker Trace dialog box
•Curve: Choose a desired trace marker.
•Create Curve: Create a curve as new body or add the geometry to a selected body using the selected Trace Marker(s).
•Export Curve: Export the trace curve data in the Matrix Data File format from the selected Trace Marker(s).
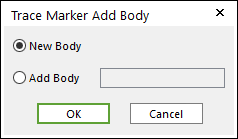
3. Click Create Curve, then the Trace Marker Add Body dialog box will appear.

Figure 2 Trace Marker Add Body dialog Box
4. Select New Body or Add Body. If you select Add Body, the user should use the standard body navigation tools to select a desired body.
5. Click OK.
Note
If the curve is drawn superimposed, the Kernel error is occurred and the user cannot create curve.