Step to design control system
1. Run the Microsoft Visual Studio.
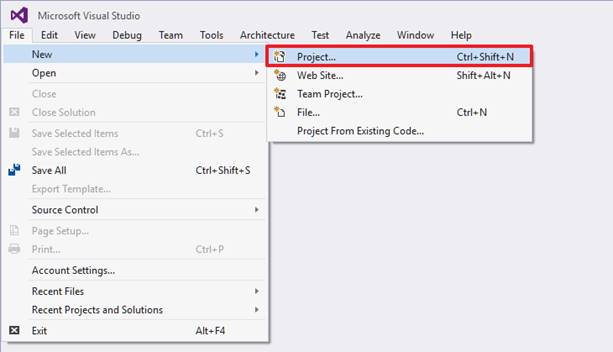
2. Create a new project from the File Menu.
Figure 1 File Menu
3. Open the New Project window as shown.
4. Select "Win32 Console Application"
5. Define the Location as new working directory.
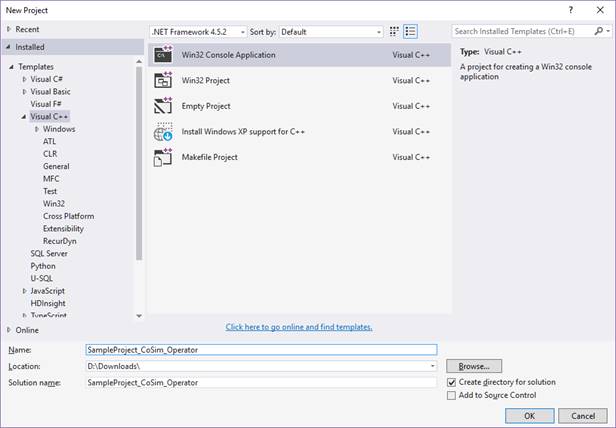
Figure 2 New Project dialog box
6. Select the option as "Empty project" of the Console Application.
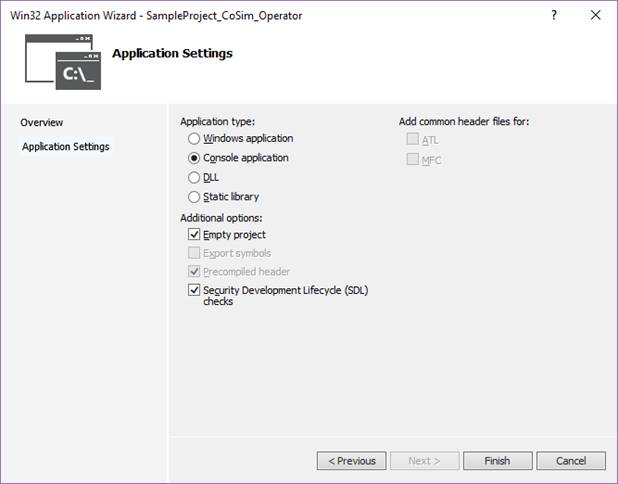
Figure 3 Select the option of Console Application
7. The sample test code is provided in the RecurDyn installation directory “<install dir>\Help\Examples\General_CoSim\”.
8. Copy the sample test code(CoSim_Test_RD_Operator.cpp) from the directory paste to the working directory.
9. The library and DLL files are provided in the RecurDyn installation directory “<install dir>\Toolkits\Controls\General10\”.
10. Copy the library file(CoSim_Operator.lib), DLL file(CoSim_Operator.dll) and header file(CoSimGeneral.h) from the directory paste to the working directory.
•Note: If you want to see functions provided by the library file(CoSim_Operator.lib), DLL file(CoSim_Operator.dll) and header file(CoSimGeneral.h), click here.
•
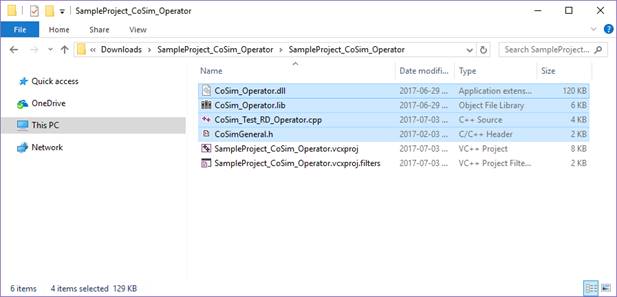
Figure 4 New working directory
11. Add an example source file (CoSim_Test_RD_Operator.cpp) from a working directory.
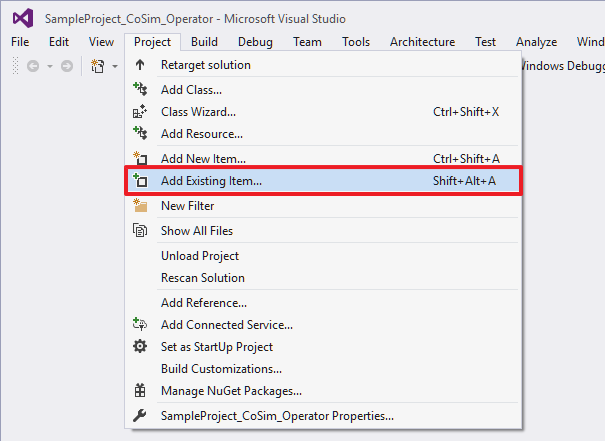
Figure 4 Add an example source file
12. Change the solution platform to x64.
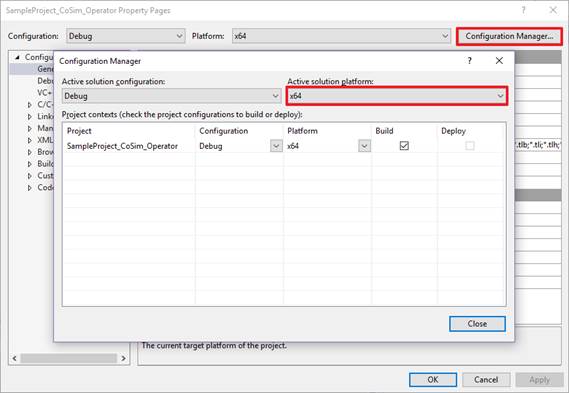
Figure 5 Change the platform
13. Link the CoSim_Operator.lib in your project. (This file contains the interface functions such as a RunRecurdyn, CommunicateRecurDyn, CloseRecurDyn functions)
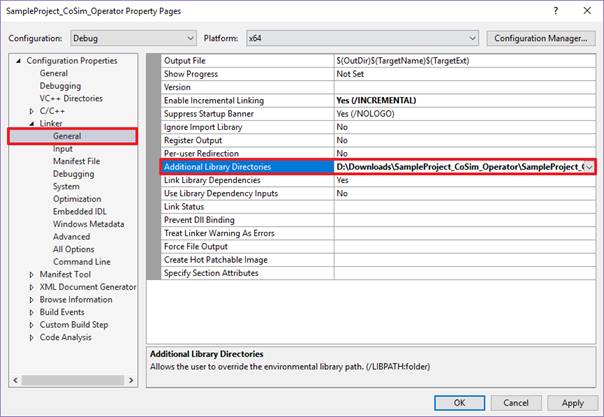

Figure 6 Link Library Files
14. Add an header file (CoSimGeneral.h) from a working directory.

Figure 7 Add an header file
15. Implement your own codes in this source file (CoSim_Test_RD_Operator.cpp).
16. Create your EXE file by using the "Rebuild Solution” option of Visual Studio.